Table of Contents
Local Brand Ambassadors
Admins
- Creating a Location Page
- Setting Up a New Location
Page Structure Overview
There are two types of pages for your Location section, "required" and "optional." Parts of the required pages will need your help to update and modify them. We've noted these in bold.
Required pages
Each location is provided with the following pages, which are required to have on the website.
About us
- When your Location is setup, a banner image (usually a city-scape), logo, and introduction copy will be included
- Talk to job seekers and patients as your primary audience
- Make sure you mention any legacy practice names on this page, as we want to tell Google to redirect any searches for your legacy practice name here
[Dallas/Fort Worth] Careers
- We will link over to the main Careers section for more information
- Update this page to make it meaningful to people who are looking for local job information. The purpose of this page is to provide location-specific keywords for search engines. Think if someone searches for "Carrolton CRNA jobs" -- the main Careers section of the website will not be able to capture that "Carrolton, TX" is a suburb of Dallas, which is why it's so important to put these words on your local careers section. Ideas include:
- List out the surrounding communities that employees live in
- Insight into the local reason why your Location is a great place to live. There is a lot of additional information that is good to include here. Ideas include:
- Partner and Spouse employment, volunteer and education resources
- School information and links
- How USAP and its locations fit the lifestyle of our staff
- Community involvement, where you highlight volunteering, ways that your local offices give back
Leadership & Team
- The leadership pictures and bios will be pre-populated for you
- Ensure that any additional leadership is included here
Locations & Contact
- Provide a local contact phone number for both (1) Billing and (2) General customer support
- Includes global 1-888 USAP phone number with required disclaimer (to call 911 if there is an emergency)
- Optional to list your business office locations
- Optional to list the facilities you serve
Optional pages
What other information would you like to put on your Locations page? Here are some ideas:
Patient information
Consider putting information for patients that are unique to your location (general patient education will be available in the USAP Patients section). Ideas include:
- New patient forms
- Specifics on what to bring to an appointment
- Links to the USAP Patient section for what to do the night before your surgery, etc.
Leadership & Team
- By uploading Bios for each of the physicians, CRNAs, or whomever else you would like to have under "Team", the system will automatically update the "Leadership & Team" page for you
- Note that if you want JUST leadership and not team members, change the title to just say "Leadership"
Insurance
- Listing out which insurance is taken at your Locations is optional
Basic Pages
-
What is a Basic Page?
Basic Pages are used for the "About Us" page, as well as any additional pages you may want to add, like Insurance, Patient Information, etc. A "Basic Page" is a specific template in Drupal. A template is a pre-determined page layout.
A Basic Page has the most flexibility and can allow you to choose from a library of modules. By using various modules, you can build a unique page that can suit almost any need.
-
What kind of modules can I use on a Basic Page?
We've put together an example of all the different modules here.
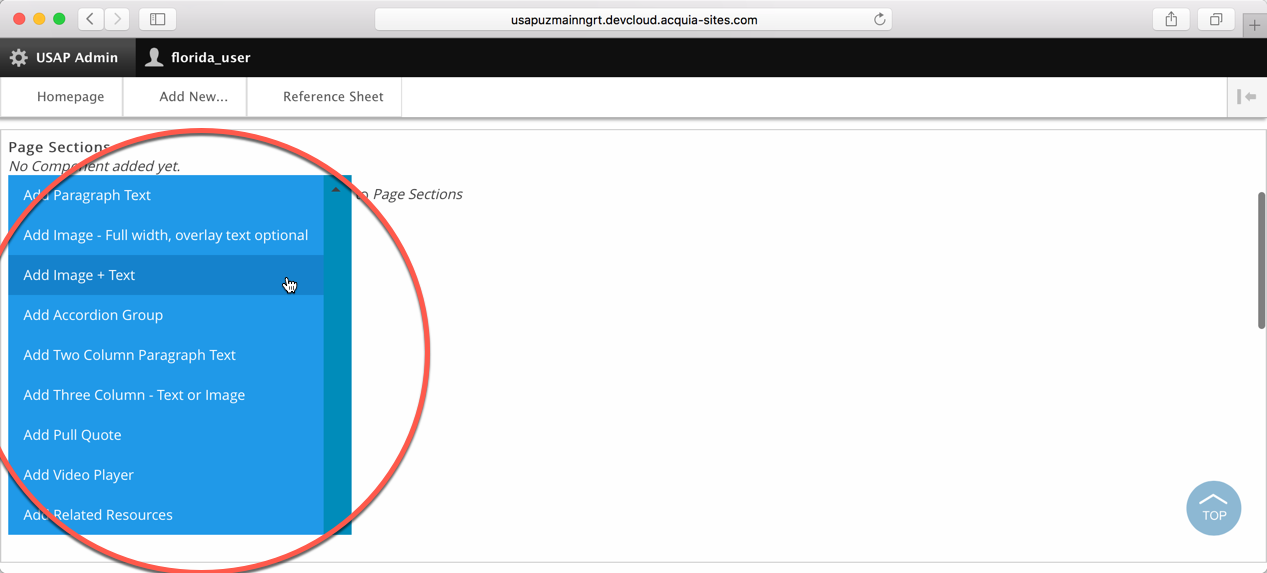
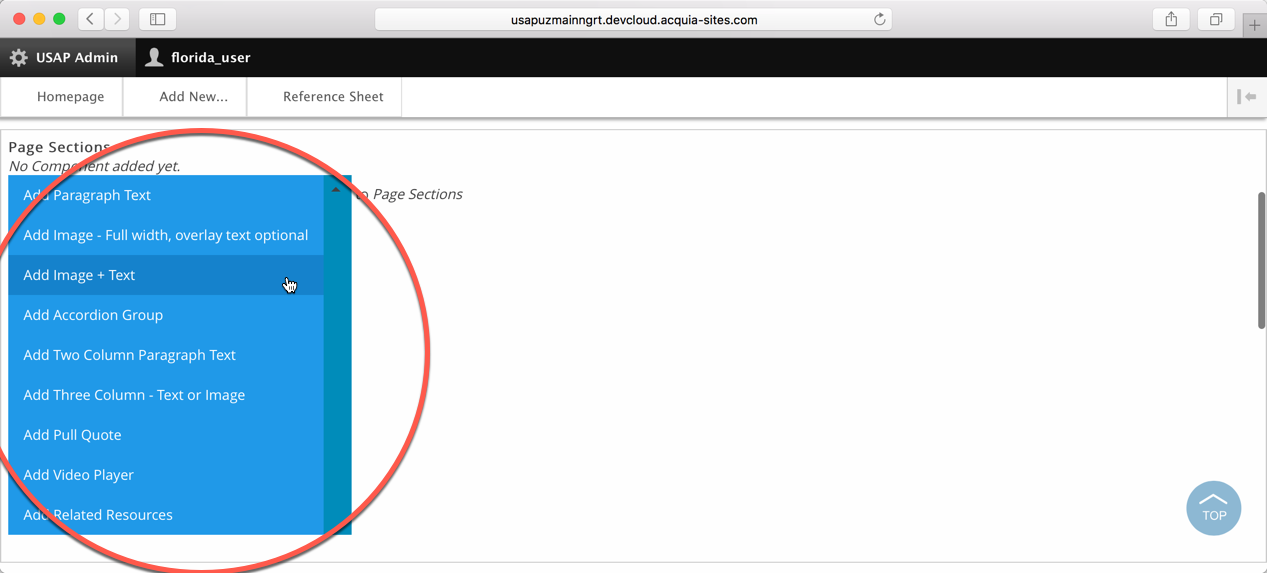
Note that each template has different modules that are allowed to be used on it. Only the modules that work on the Basic Page will appear in your drop down list, like shown here:
-
How do I create a new Basic Page?
1. Go to "USAP Admin" and click on "Add new"
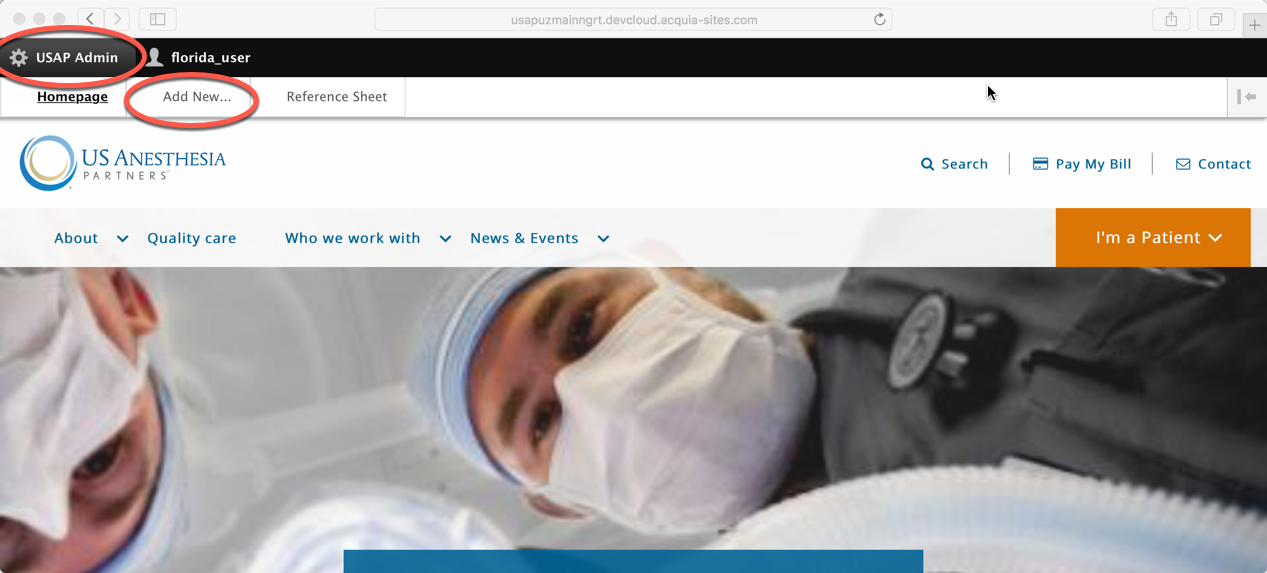
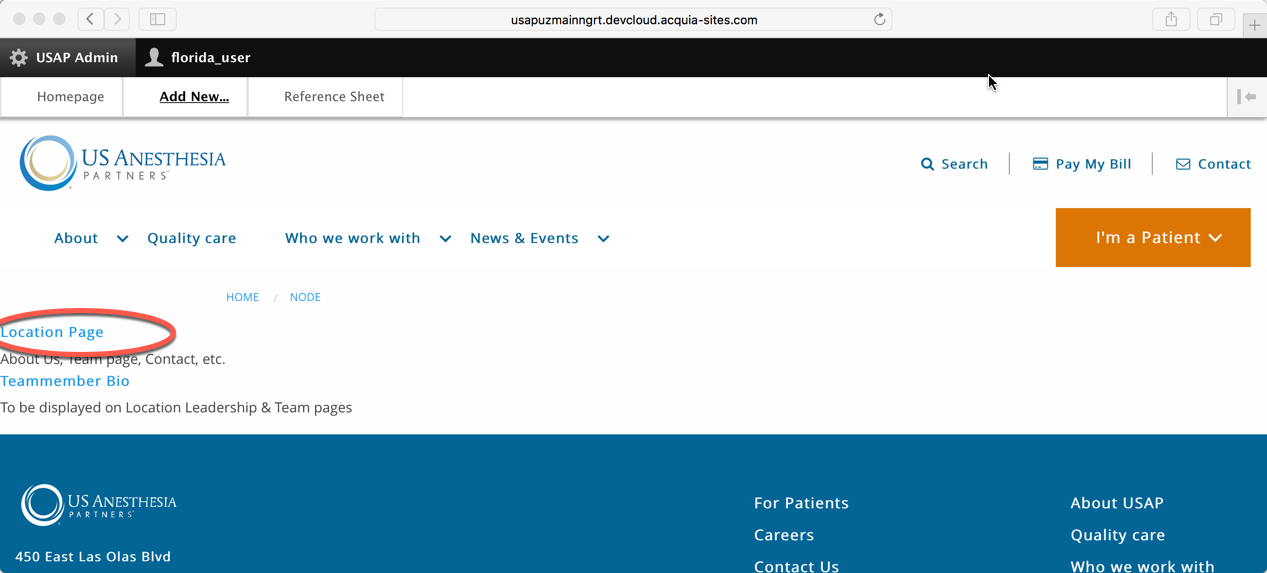
2. Select that you want to create a new Basic Location Page.
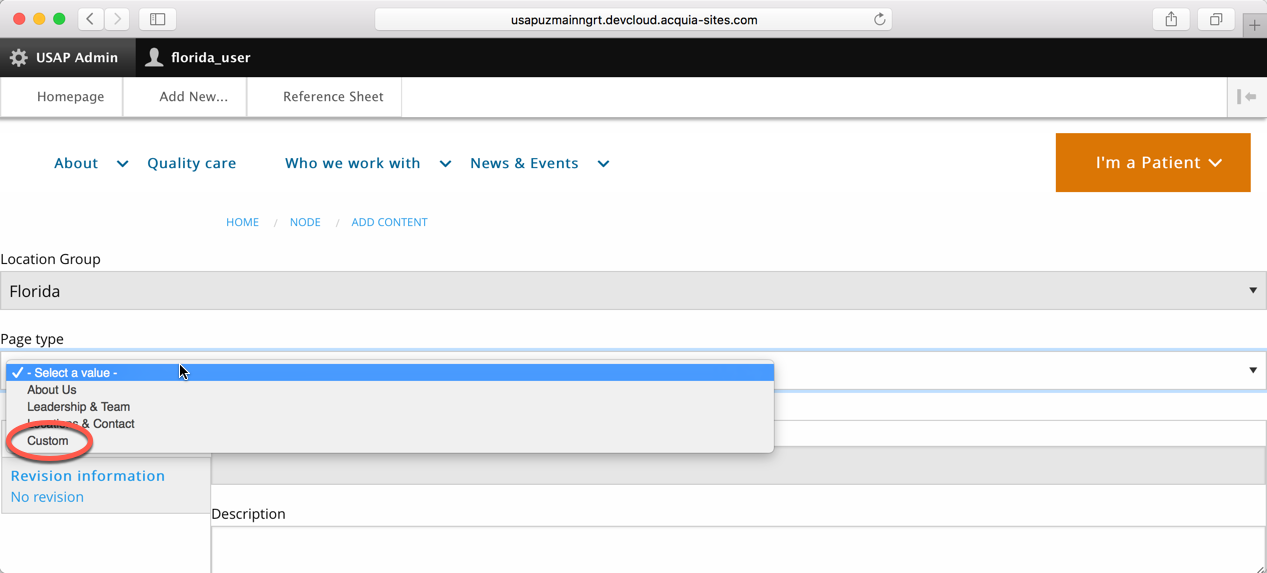
3. Your Location will be pre-selected for you. For the type of page select "Custom."
4. Enter in your Page Title. This will be what will show up in your left navigation as well as the title of your page. It's good practice to keep these short and they should explain to your user what the page is about.
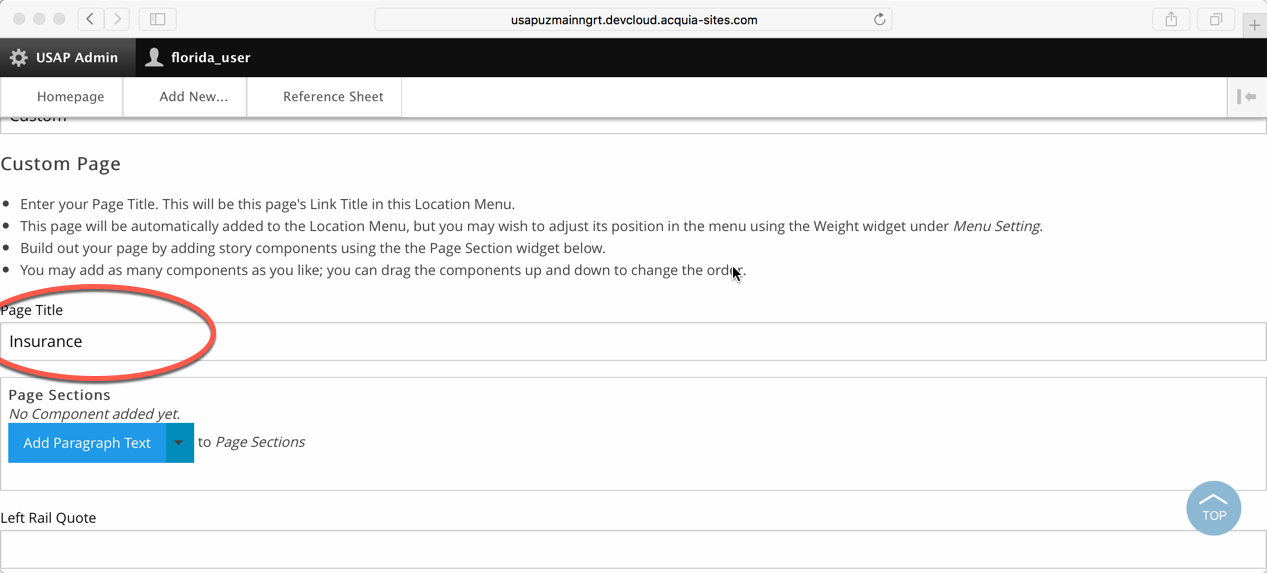
5. You will then select which module you'd like to use. Don't forget, an example of what each module looks like when it's on the page can be found here.
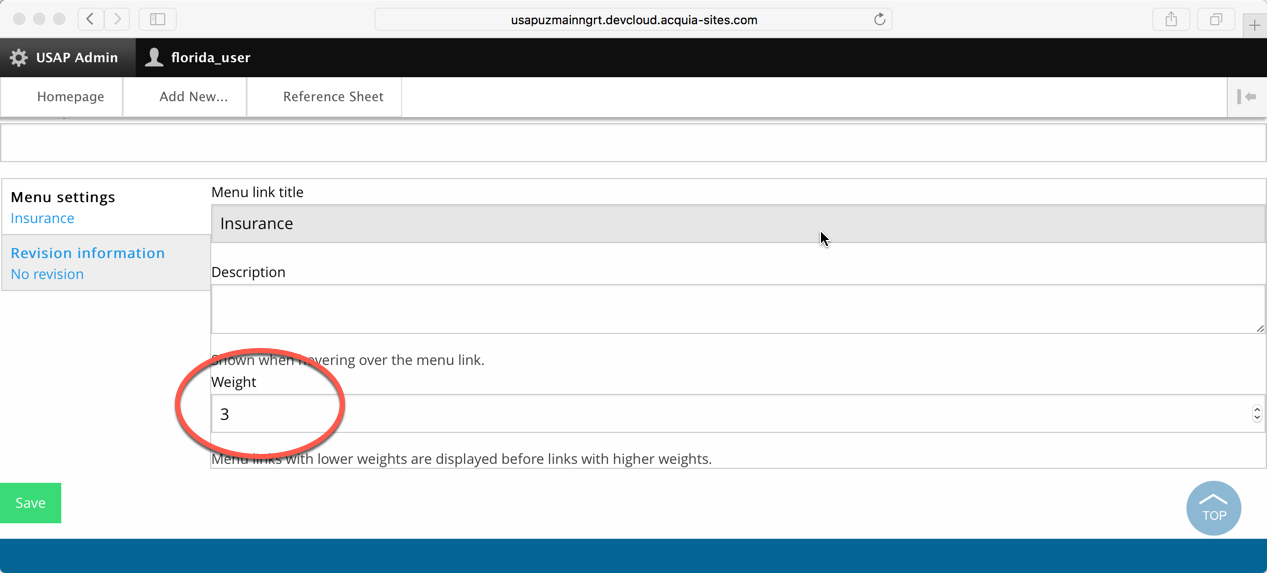
6. You can change the order of your left-navigation by putting a number in the "Weight" field. An example (and recommended) order is:
- About us (this is the default "home" page for your Location)
- [Other custom pages, like Insurance, Patient Information, etc.]
- Leadership & Team
- Careers
- Locations & Contact
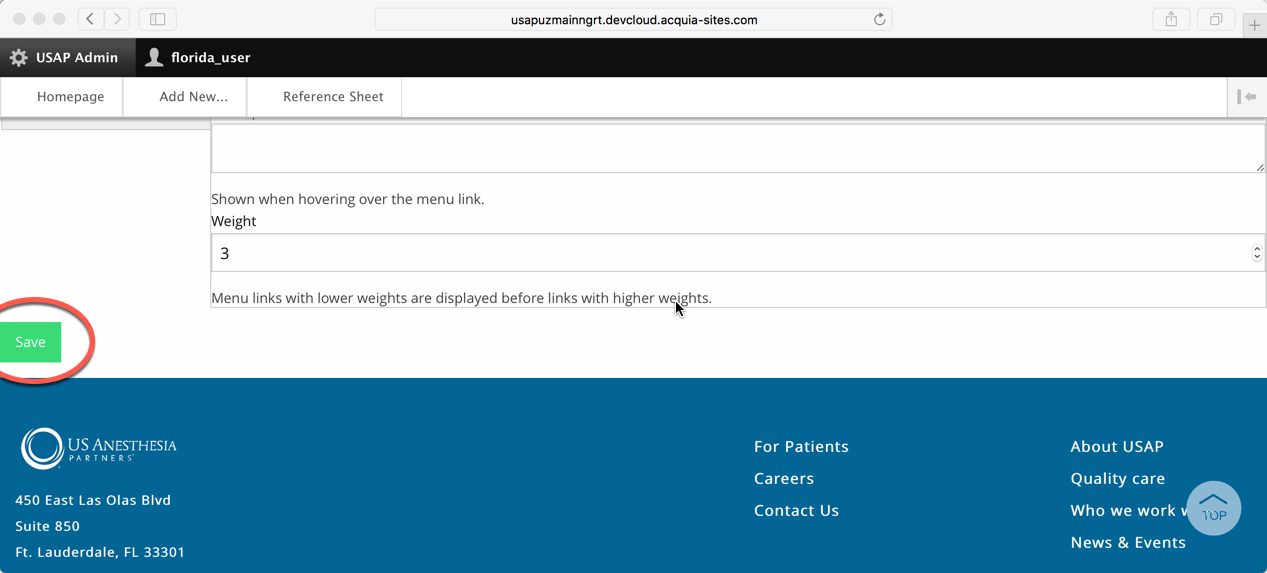
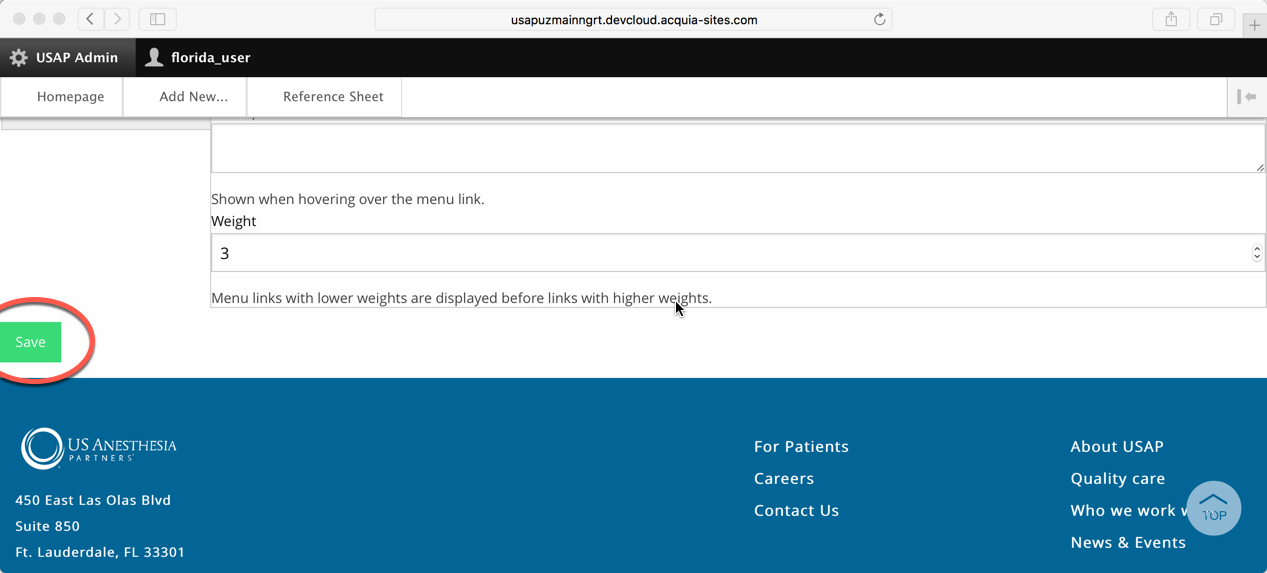
7. Save and publish your page. Remember, once you publish it, it is on the website and can be seen by other people.
-
How do I edit a Basic Page?
1. Go to "USAP Admin" then "Homepage"
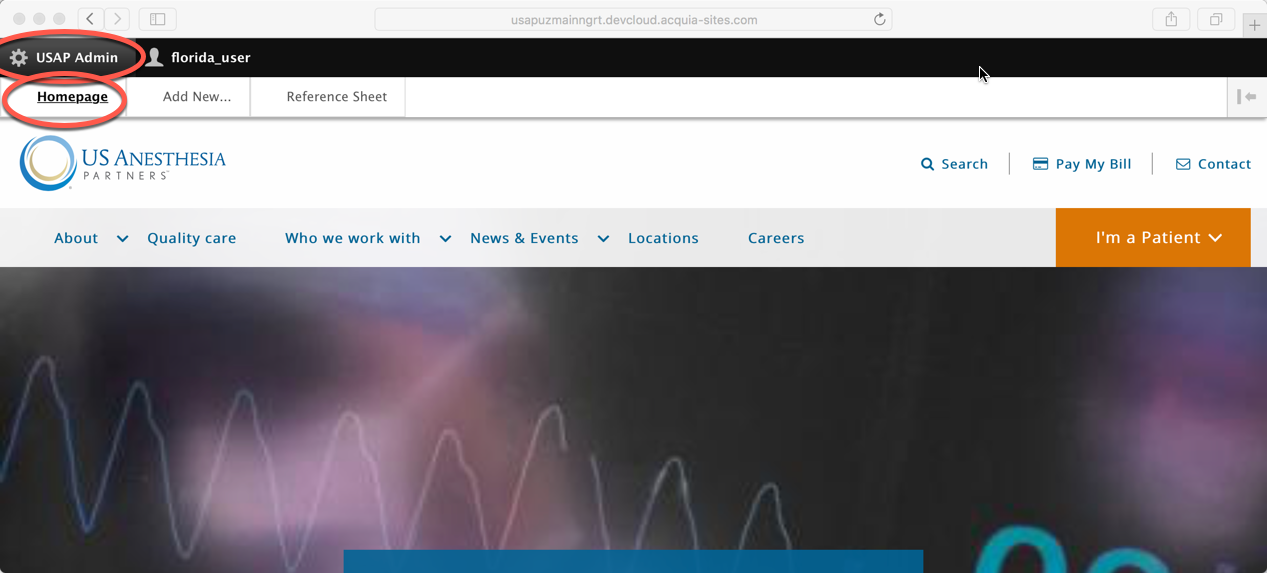
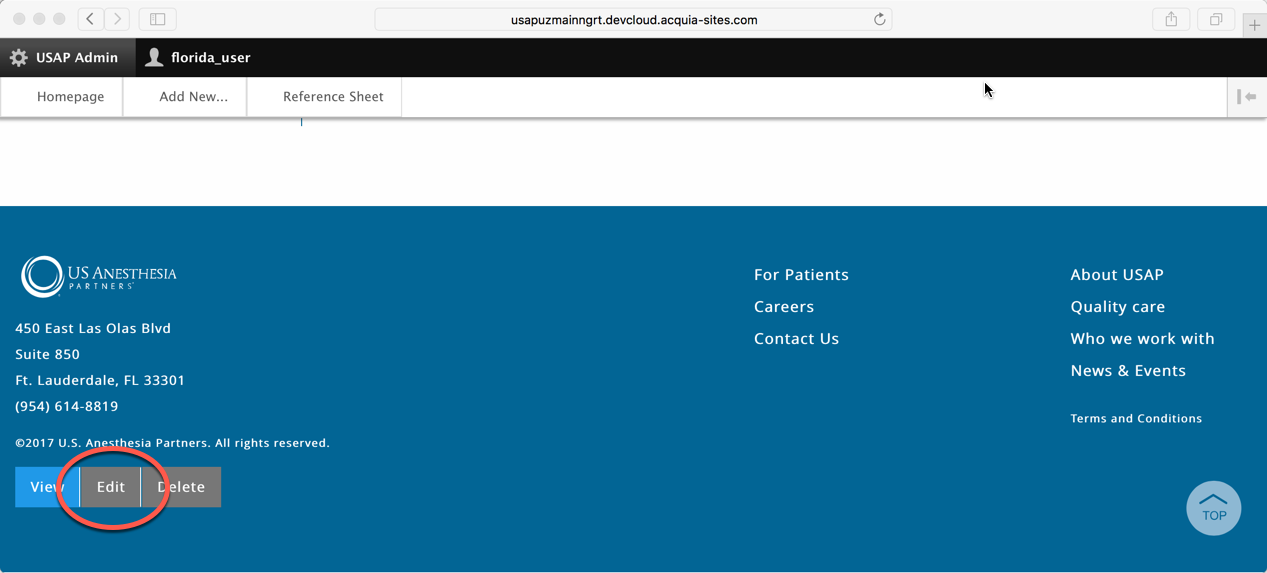
2. Using the website's navigation, go to the page that you want to edit. Scroll to the very bottom and click "Edit."
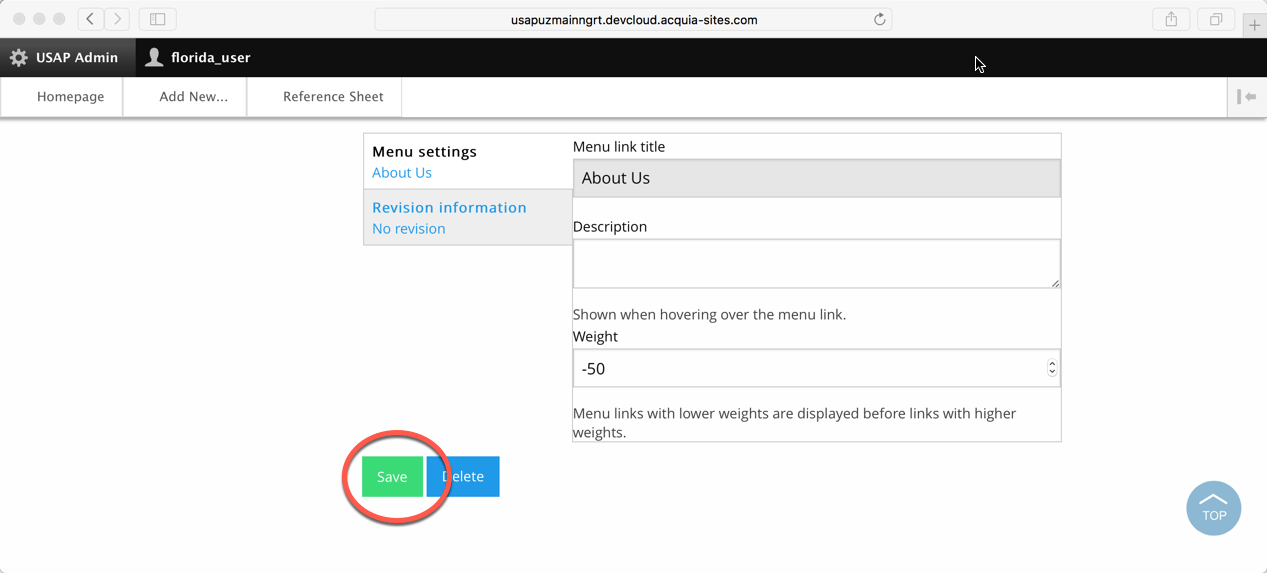
3. Make the changes and then click "Save." Remember, it can take up to 10 minutes for your changes to show up for someone that is not logged in as a Local Web Ambassador. After 10 minutes is up, we recommend checking the page in a different browser or even on your phone to make sure your changes are how you intended them to be.
Locations & Team
-
What is the Locations & Team page?
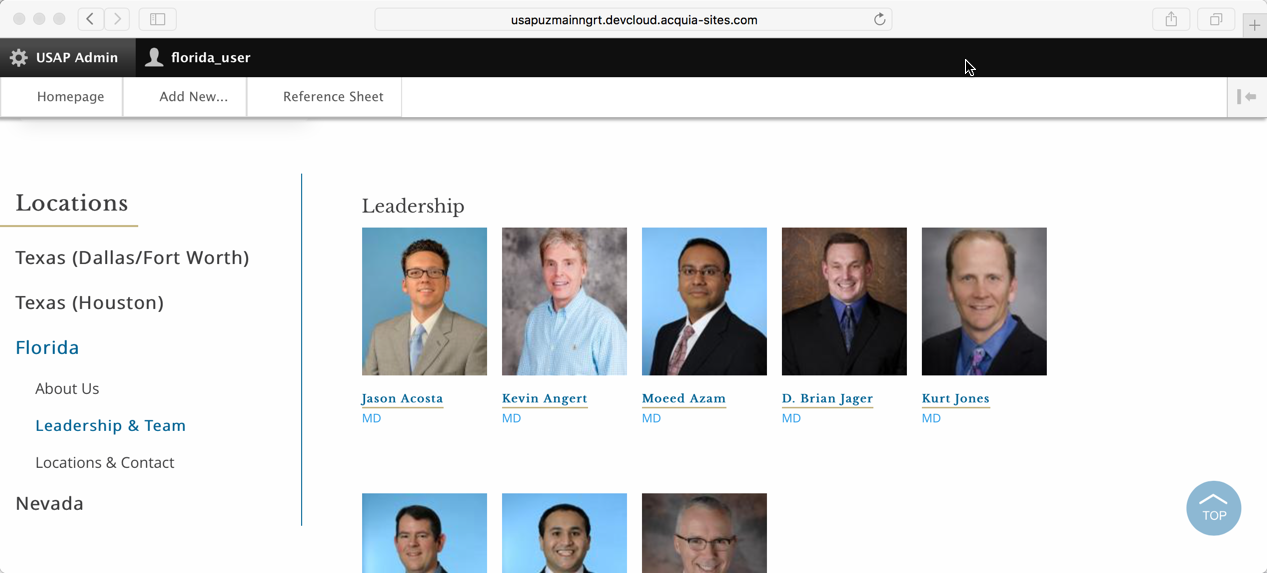
The Locations & Team page is the page on the website where you show both your local Leadership and your Providers (physicians, CRNAs, AAs, etc.).
Having your local Leadership is required while adding any Provers is optional.
-
How do I make changes to the Leadership & Team page?
The Leadership & Team page is built automatically by creating Bio pages. You never actually edit the Leadership & Team page itself, but the Bio pages that are linked from the
-
How do I change the title of "Providers"?
Depending on what you'd like to have for your Provider list, you may want to change the title in the page. Recommendations include:
- Physician's only, change the name of this to "Doctors" (using the term "doctor" over "physician" makes your page more patient-friendly)
- Physicians/CRNAs/AAs/etc., keep the name of this section as "Providers"
1. Go to "USAP Admin" then "Homepage"
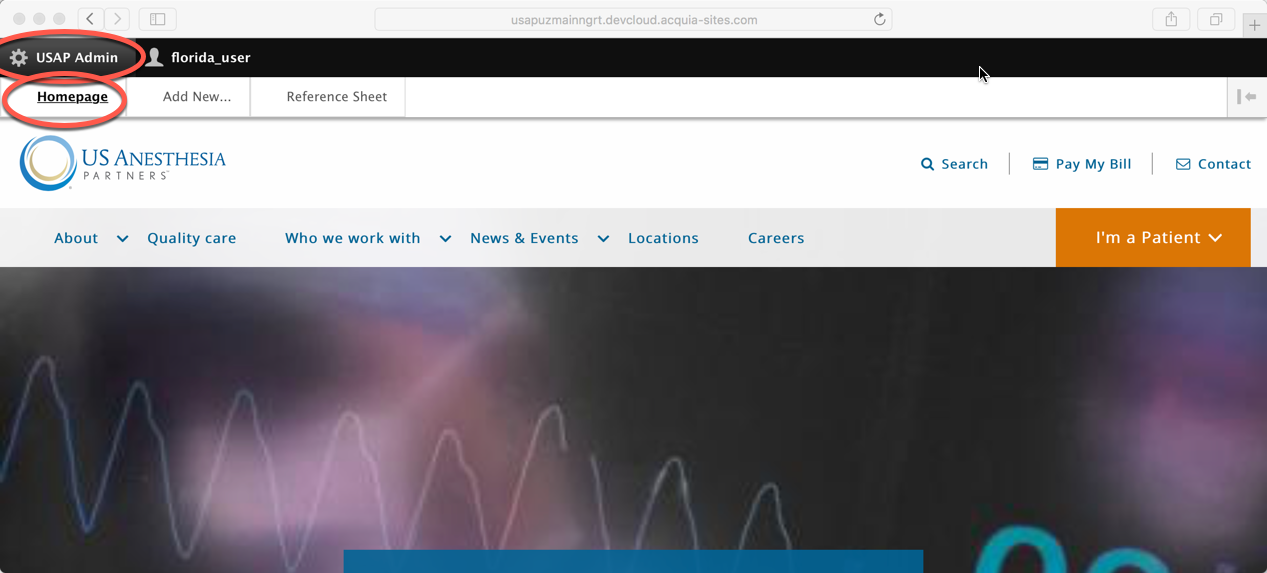
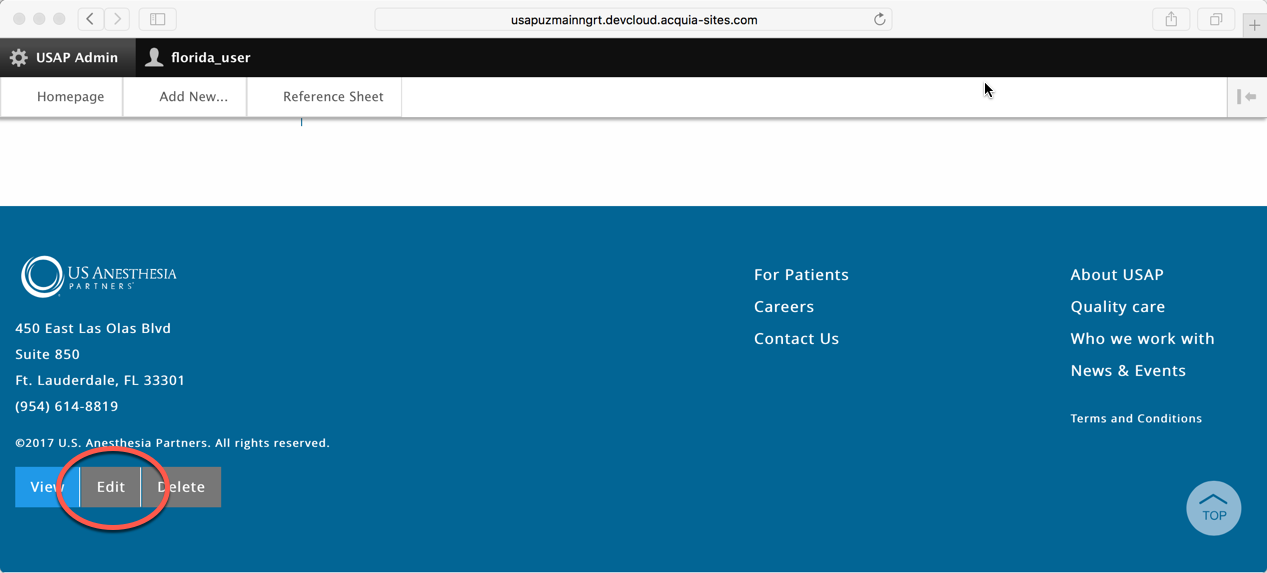
2. Navigate to your "Leadership & Team" page and click the "Edit" button at the bottom.
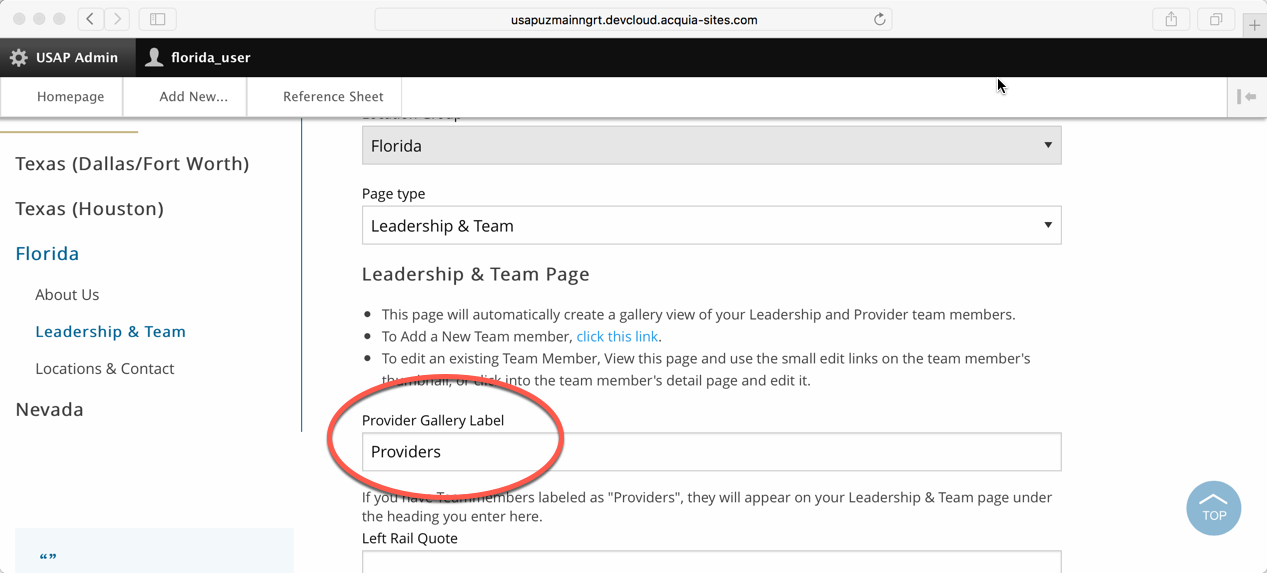
3. Under "Provider Gallery Label" change it to the title you'd like to have.
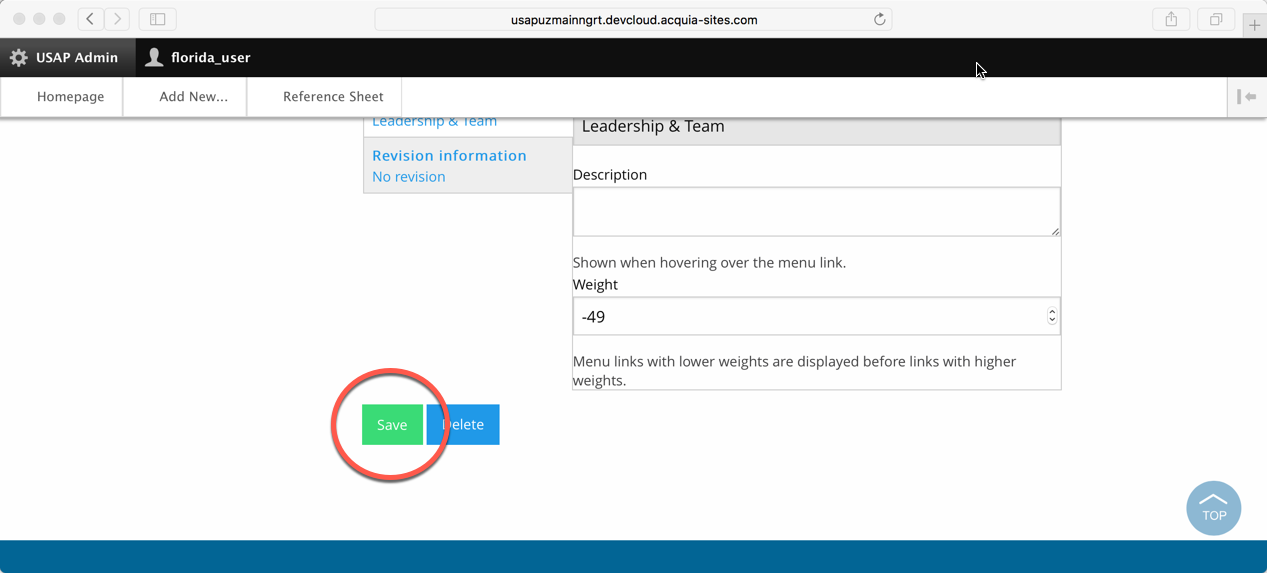
4. Save the page.
-
How do I create a new Bio?
1. Go to "USAP Admin" then "Add New"
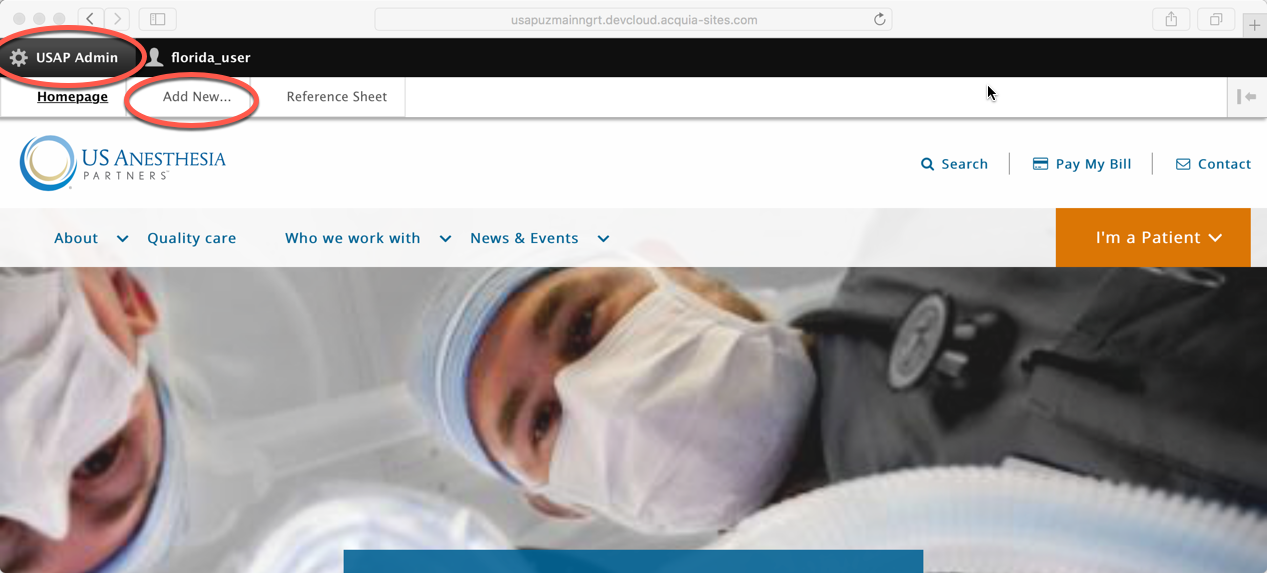
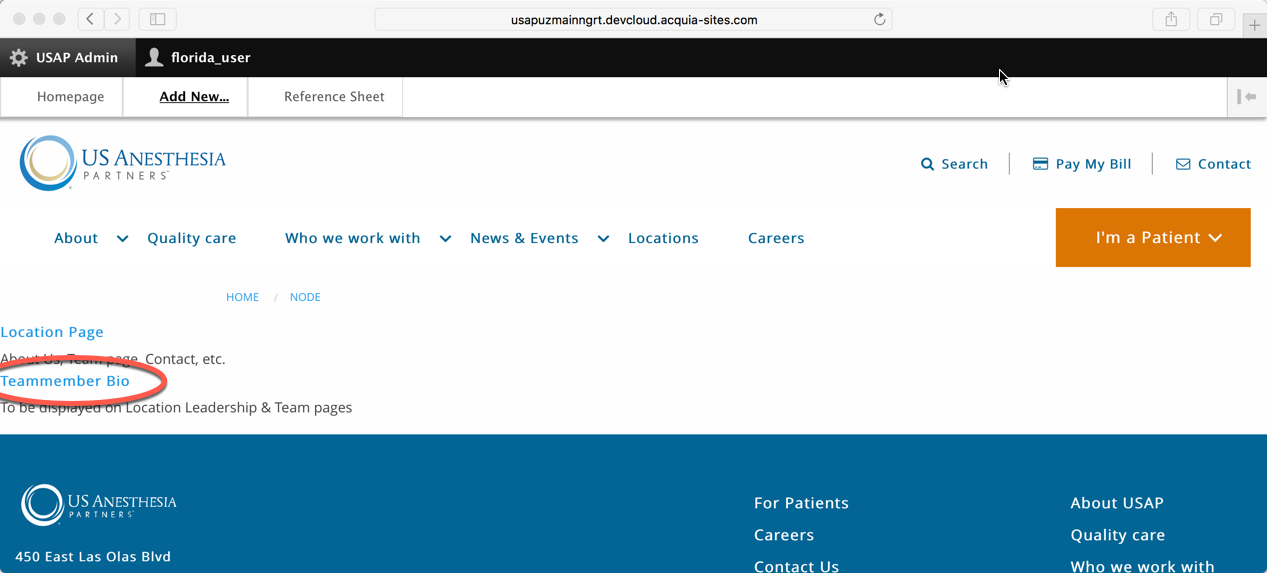
2. Click on "Team Member Bio"
3. Select if the Bio is for someone on the "Leadership" team or if it's a "Provider". This selection tells the system where to put the bio on the "Leadership & Team" page.
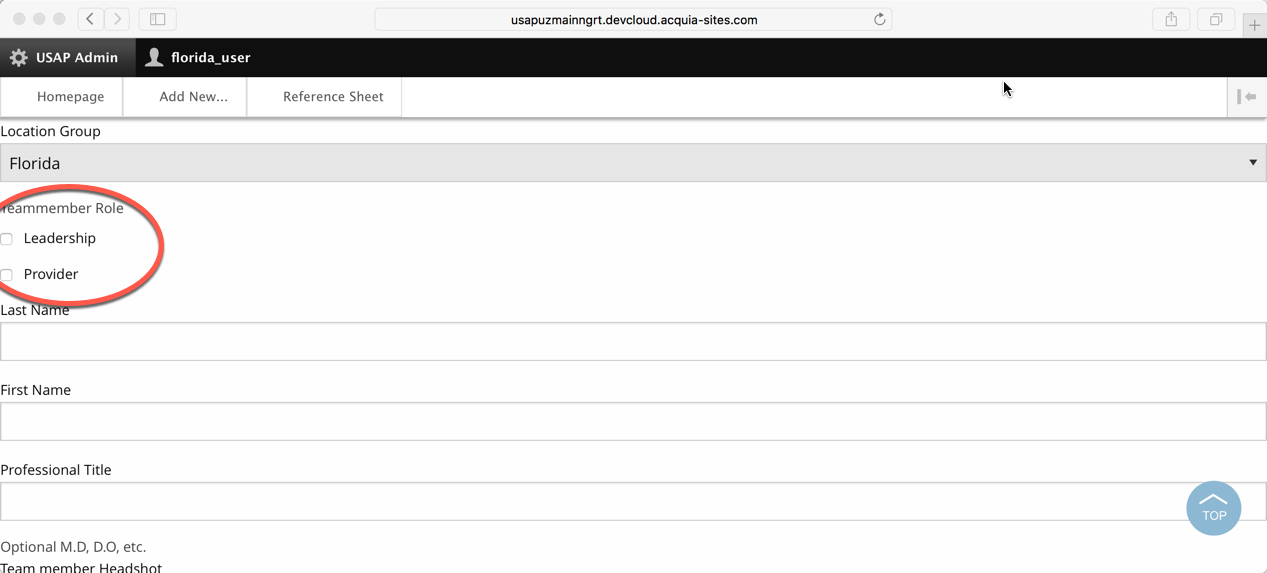
4. Put in the information from their bio, including:
- Last Name
- First Name
- Professional title (use either M.D. or D.O. with periods separating each letter)
- Image
- Bio information
It's important to be consistent when putting in the Bio information. The headings should be marked as "Headline 3" with the content under each headline marked as "Normal".
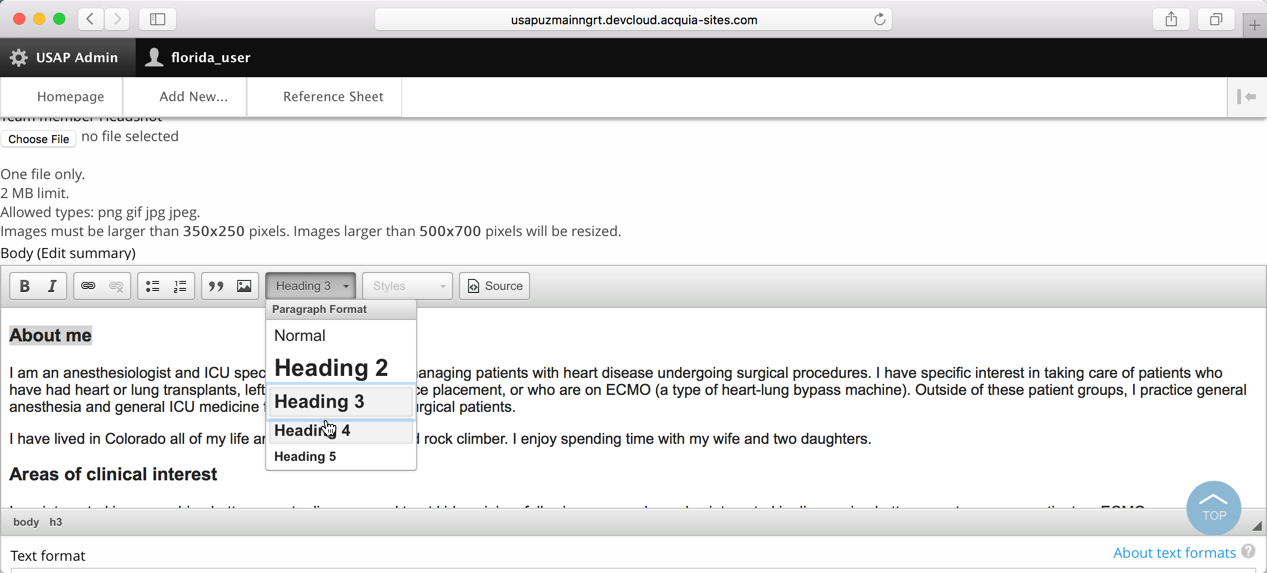
TIP: The images for each of the Bios should be 600 x 750 px in size. If you are getting professional pictures taken by a photographer, request that they give you the original pictures AND each photo in this size, so it will make uploading bios much easier.
5. Optional is a quote on each page
A featured quote can appear on each bio. It is optional and should be in clinical in nature. Should not be political, religious or otherwise controversial. Target for around 25 words. If you don't have a quote, leave this blank.
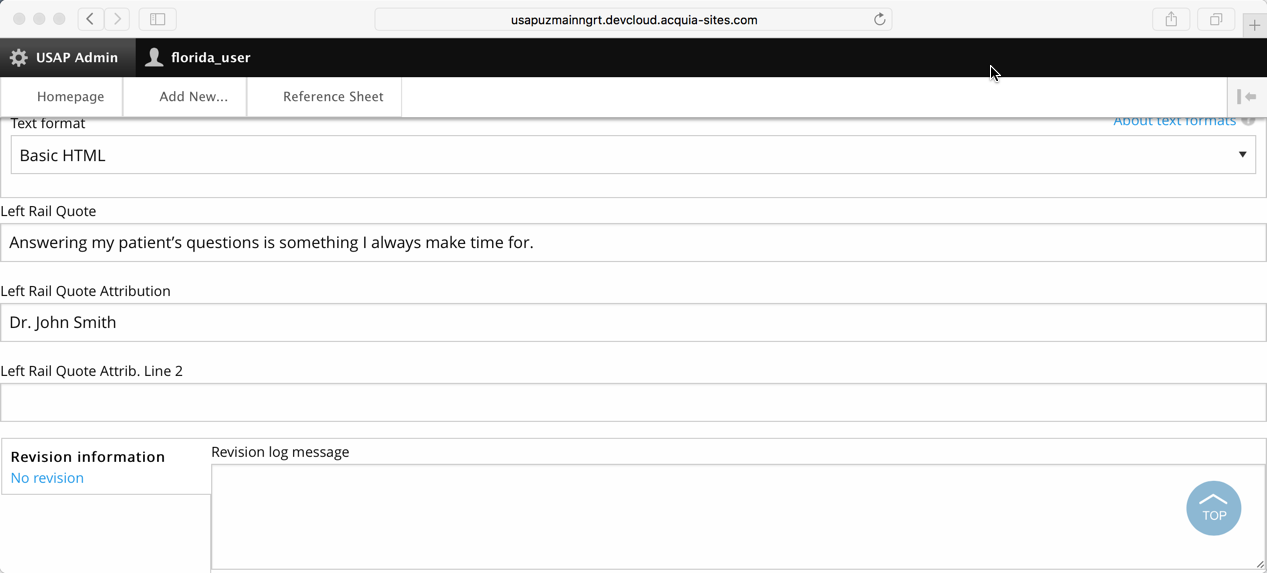
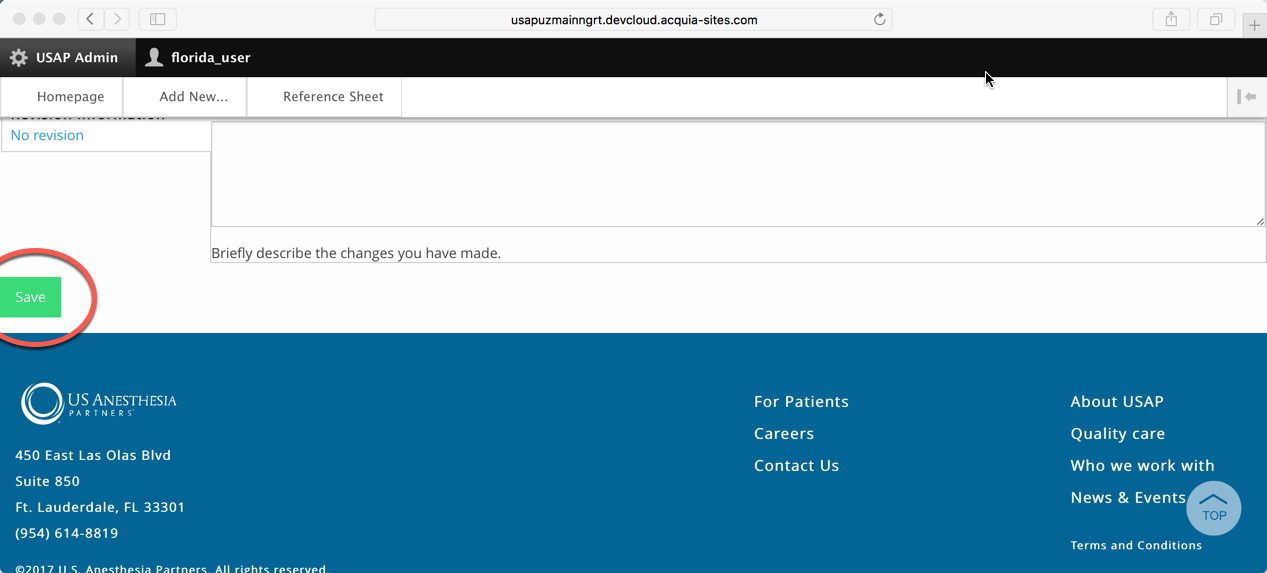
6. Once you are done, click "Save"
-
How do I edit an existing Bio?
1. Navigate to "USAP Admin" then "Homepage"
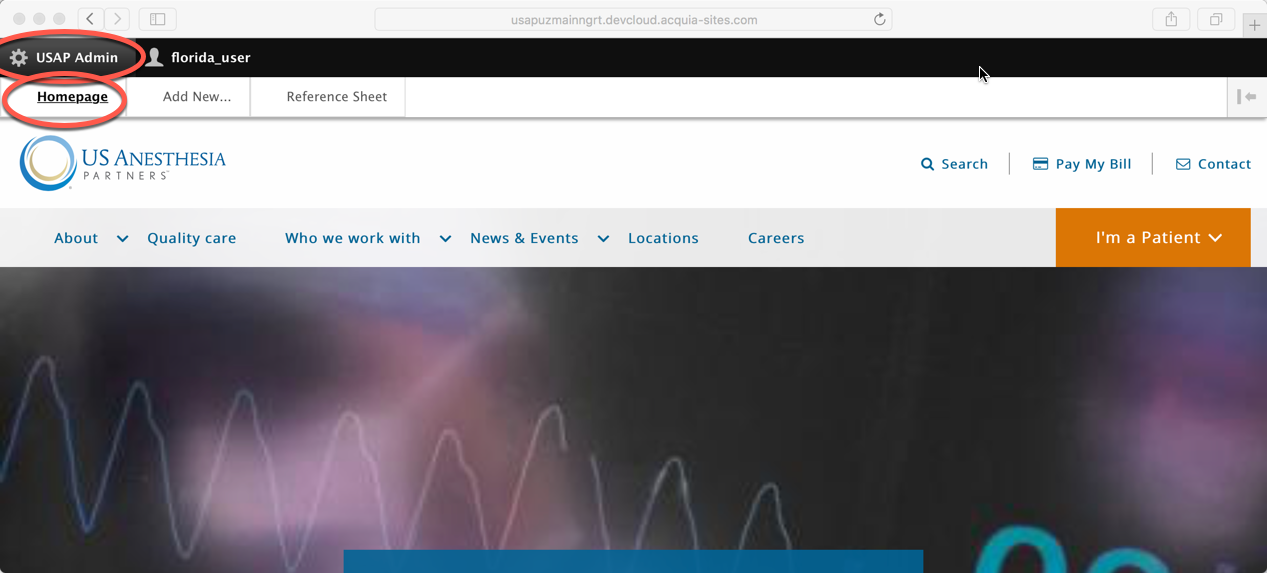
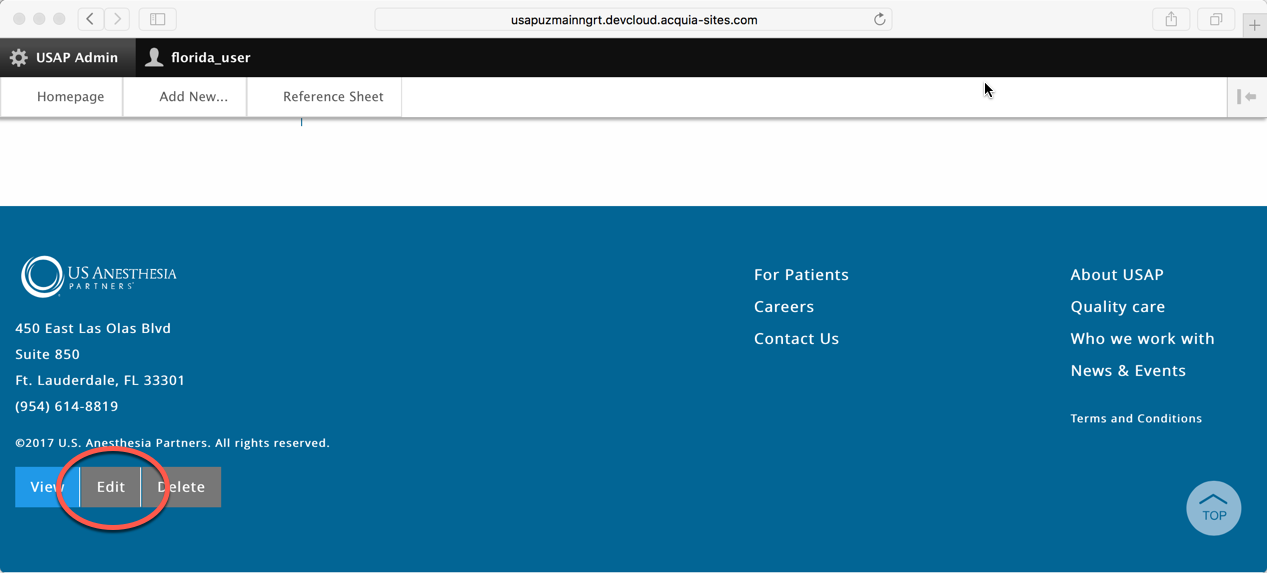
2. Find the Bio you'd like to edit and click "Edit" at the bottom of the page
3. Make the changes that you'd like to make and click "Save"
-
What is the best way to get a physician to give me their bio?
Having a quality bio benefits, not just USAP, but the individual physician. We want the USAP website to show up when a patient or surgeon searching for the physician's name in a search engine like Google or Bing.
We have control over the bio picture and words on the USAP website but don't have control over what appears on 3rd party websites, like Healthgrades, which "scrape" information from other parts of the internet.
Recommendations to get the best bio from each of your physicians:
- Explain that it helps them have a great bio on the website, for the reasons above. We want patients and surgeons reading information about them written by them, rather than someone else
- It's a great way to highlight your clinical interests, personal interests, and commitment to medicine
Use our template, which shows an example bio:
- Download the template here
- Email this template and have them type into the Word Document, and then send it back to you
Images
-
Do we have a Style Guide?
Yes! We've created a document to better help you understand the types of images that should be picked for USAP.com. Even though you can manage your Location pages, we do want to make sure that there is a consistent feeling that comes across for each image.
-
What do I use to edit photos?
Rule of thumb: Every image needs to be edited before going on the website. There are two options for software to do this:
Photoshop
Well known for its editing capabilities, Photoshop can give you seemingly limitless editing opportunities. It is not inexpensive and may be too advanced for basic capabilities.
Tutorials
- Adobe Tutorials
- How to resize a picture
- How to optimize a picture for the web (where you want the best quality image at the lowest file size)
Gimp
Gimp is what we recommend for your photo editing needs because it's free and can be used for the basic things you need it for.
-
Are there templates for the different images I need to create?
yes
Creating a Location Page
USAP Admin and Regional Ambassadors:
Add New... Location page. You must choose a location group and a page type.
Note that for all but custom pages, the page title, its URL and its sort order within the Locations menu is set by the system.
Note that Locations pages by default are "unpublished". Although you can see these pages and their Links within the Locations Menu in your logged-in browser, rest assured the general public cannot.
Setting Up a New Location
USAP Admin level users only:
1. Add location as a Taxonomy Term
- Hero images must be 1440 x 450 px
- Logos (SVG is preferred, PNG with transparency is acceptable) must be 216 x 60 px
2. Create a new Group for the Location
- Name the group as you did the Taxonomy term. No alias required; just hit the Save button again. There is not much to see but don't be concerned; go to step 3.
3. Create a new User to administer the location. If the region doesn't have an ambassador yet, use "foo" or "temp" -- the user will be able to change her username, email and password later.
- User name and email address must be unique
- The Roles checkbox should have USAP Regional Admin checked
- Select the new Location Group (from step 2) in the drop down at the bottom of the form. NOTE: this does not fully associate the user to the group! Go to step 4.
4. Go back to the Group page (use the breadcrumbs link if necessary to take you to the group/XXX page)
- In the footer of the otherwise empty group page click the Members tab to reach the Members page. Click the Add Member button.
- Enter the Username you created in step 2. The field will auto-suggest users to help you find the correct one. Again, ignore the URL alias field and save.
5. Add region as a Location Menu Item (hit the Add Link button)
- The menu link title must match the taxonomy title. The link field will ALWAYS be "<nolink>"
- The "first child" checkbox should be checked
- The "enabled" field should also always be checked. Links to this region will be NOT be visible to non-admin viewers until a Location Page assigned to this region is explicitly changed from unpublished to published.
- Parent menu will be Location Menu. Weight you can leave alone. Hit Save.
- You will find yourself back on the Location Menu page. Use the handle icons to move your new location link up and down in the Menu. Be sure you don't accidentally make it a child of some other location. Hit Save.
6. Are you going to create a (temporary) About Us page for this Location at this point? If not, we need to hide this menu item! Here on the Location Menu page, simply uncheck the "enabled" checkbox and hit Save.
If you are going to create an About Us page for this Location, let's do that now:
7. Create a new Location Page node
- Select your new location in Location Group. If the Menu Item is disabled, you'll get a browser popup telling you the location isn't set up properly. Do step 6 first.
- Select About Us in page type.
- You may choose to add a Paragraph with some Lorem Ipsum text if you'd like. You will not be able to change the menu settings. Click the Save button and notice that it says "Save as unpublished"
You'll want this node to remain unpublished until you are ready for non-admin people to see your new Location as a link item in the Locations Menu. As it is now, that link will be hidden from non-admin users.